The Art of Homemade Quilting

A Journey Through Tradition and Creativity
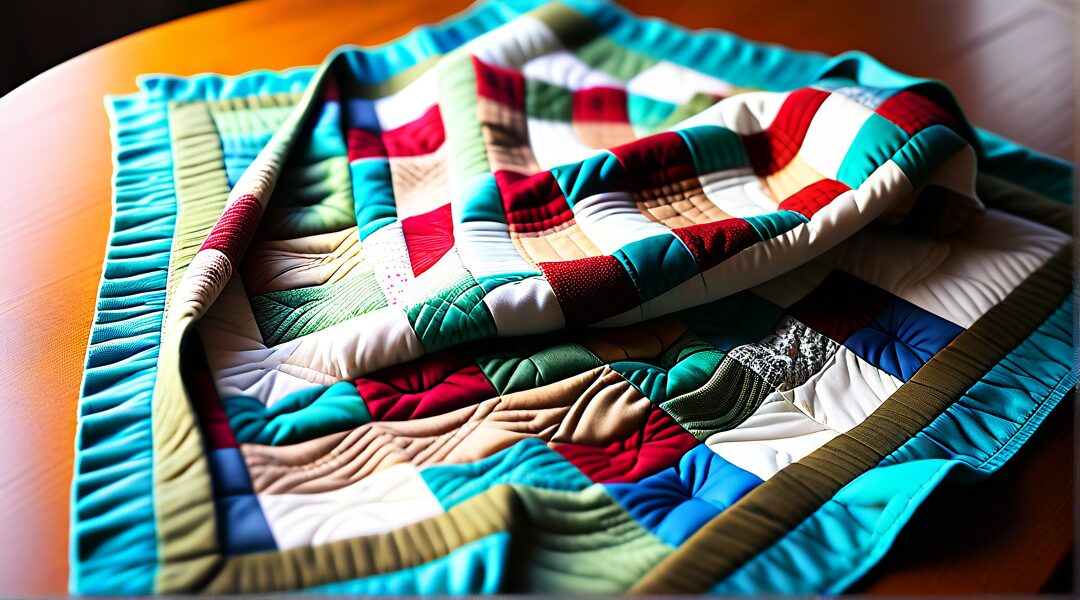
Handmade quilting is a timeless craft that brings together artistry, tradition, and the warmth of handmade creations. Whether you’re new to quilting or a seasoned quilter, the process of piecing together fabrics to create something both beautiful and functional is a rewarding journey. Quilts tell stories, offer comfort, and often become heirlooms passed down through generations. In this post, we’ll explore the steps and considerations for making your own handmade quilt, embracing both creativity and tradition.
Why Handmade Quilts?
Quilts made by hand carry a special significance. They connect us to the past, where quilting was a necessity for warmth but also a form of artistic expression. Handmade quilts are unique, as no two are ever exactly alike. The fabrics chosen, the patterns created, and the time invested all make each quilt a one-of-a-kind piece.
Getting Started: Gathering Supplies
Before you dive into quilting, it’s important to gather the right materials. Here’s what you’ll need:
– Fabrics: Choose fabrics that complement each other and match the quilt design you’re going for. Cotton is a popular choice because it’s easy to work with and durable. Many quilters use pre-cut fabric bundles like fat quarters, but you can also use fabric scraps for a more eclectic, patchwork look.
– Quilting Thread: Quality quilting thread is essential. Polyester or cotton threads are common choices depending on your fabric and personal preference.
– Batting: Batting is the inner layer of the quilt that provides warmth. It comes in various materials like cotton, polyester, or wool. Choose based on how heavy or warm you want your quilt to be.
– Rotary Cutter, Ruler, and Mat: For precision cutting of fabric pieces, a rotary cutter and ruler are invaluable. A cutting mat will protect your surface and keep your cuts clean.
– Sewing Machine: While some prefer to quilt entirely by hand, most quilters use a sewing machine for piecing together the quilt top. Hand stitching can be used for special touches or quilting designs.
– Pins and Clips: These will help hold fabric layers together when sewing, ensuring accuracy in your quilt’s construction.
Designing Your Quilt: Patterns and Layout
One of the most exciting aspects of making a quilt is choosing your design. You can follow traditional quilt patterns, such as Log Cabin, Nine Patch, or Star blocks, or create something entirely unique. Consider sketching your design or using a quilt pattern book for inspiration.
When designing, think about:
– Color Scheme: Do you want a bold and vibrant quilt, or something more muted and subtle? Consider color theory and how certain colors play off each other.
– Size: Are you making a quilt for a bed, a baby blanket, or a decorative throw? The size will determine how much fabric you need and how complex your design can be.
– Piecing Style: Some quilts are made from simple squares, while others involve intricate shapes like triangles, hexagons, or even curves.
Piecing the Quilt Top
Once you’ve decided on your design, it’s time to start piecing the quilt top:
1. Cut the Fabric: Use your rotary cutter and ruler to cut your fabric pieces according to your design. Precision is key for a well-aligned quilt top.
2. Sew the Pieces Together: Begin sewing the fabric pieces together row by row or block by block, depending on your design. Press your seams flat as you go to ensure a smooth, professional finish.
3. Assemble the Quilt Top: Once all the pieces are sewn, assemble the quilt top. This is when your quilt will start to take shape, and you’ll see your vision come to life.
Quilting: Layering and Stitching
After completing your quilt top, the next step is quilting, which involves stitching together the quilt top, batting, and backing fabric. Here’s how:
1. Layer the Quilt: Lay out the backing fabric first (wrong side up), then the batting, and finally the quilt top (right side up). Smooth out any wrinkles, ensuring the layers are flat.
2. Baste the Quilt: Use safety pins or basting spray to temporarily hold the layers together. This will prevent shifting while you quilt.
3. Quilt the Layers: Now it’s time to stitch through all three layers to hold them together. You can quilt by hand using a running stitch or use a sewing machine with a quilting foot. Simple straight lines or intricate patterns, such as free-motion quilting, can add texture and depth to your quilt.
Finishing the Quilt: Binding the Edges
The final step in making a handmade quilt is binding the edges to give it a polished look and protect the seams. Here’s how to finish your quilt:
1. Trim the Edges: Once your quilt is quilted, trim the excess batting and backing fabric so the edges are even.
2. Create the Binding: Cut fabric strips and fold them in half lengthwise to create the binding. Attach the binding to the edges of the quilt, either by hand or using your sewing machine.
3. Hand Stitch the Binding: Fold the binding over the edge of the quilt and hand stitch it to the back for a clean, finished edge.
The Joy of Handmade Quilting
There’s something magical about taking pieces of fabric and turning them into a cozy, beautiful quilt. Handmade quilting allows you to express creativity, connect with a long-standing tradition, and produce something that will be cherished for years to come. Whether your quilt is for a special gift, a personal project, or a family heirloom, the time and care you put into it will shine through.
So, gather your materials, choose a design, and begin your quilting journey! The process is as rewarding as the finished product. Happy quilting!
